Home ] Up ]

EPOXY

The strength in "stitch and glue" construction comes from the sandwich of resin/glass/wood/glass/resin along the joints. Think of this sandwich structure like a length of plywood running the length of the boat. A single length of wood may flex, but this added "ply" gives it the rigidity needed when out on the water. The panels of the boat are then covered in epoxy to prevent water from seeping into the grain of the wood. It's important, therefore, to ensure ALL, yes ALL, wood is coated with epoxy. Having said that... "on with the show" !

(Click to Enlarge)

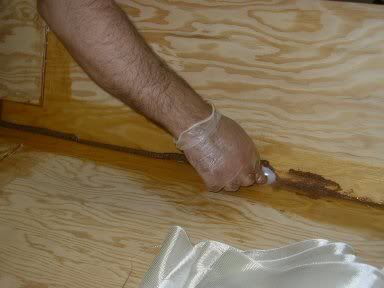
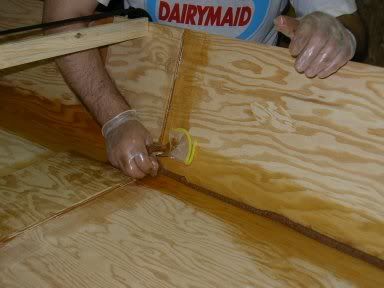
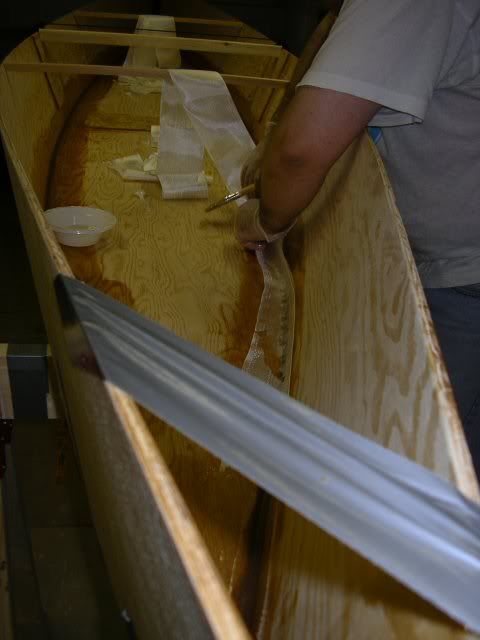
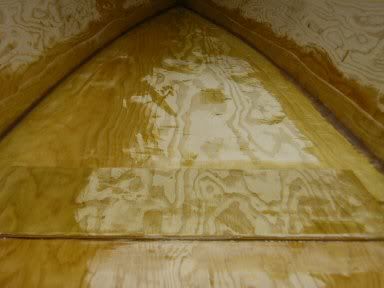
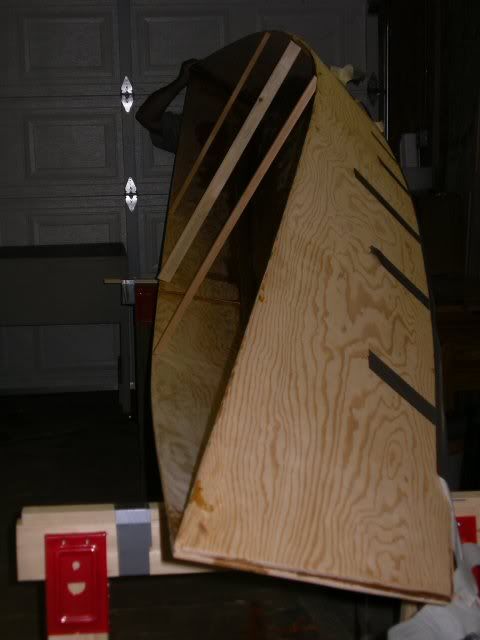
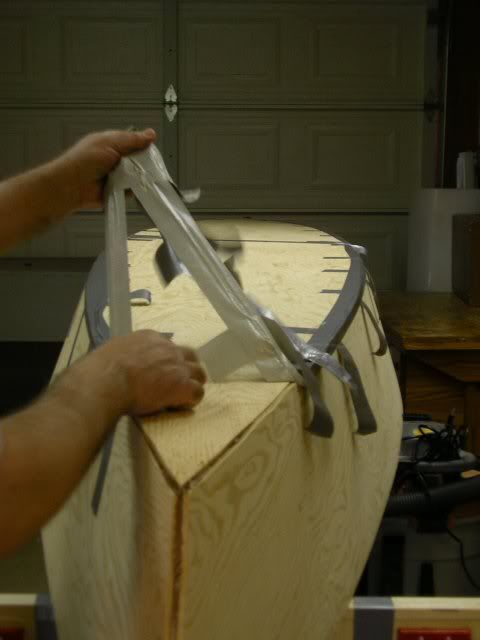
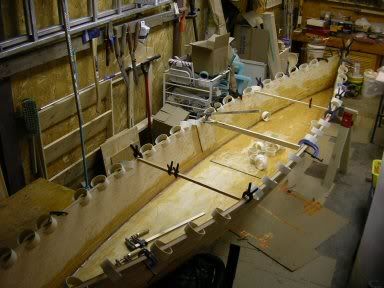
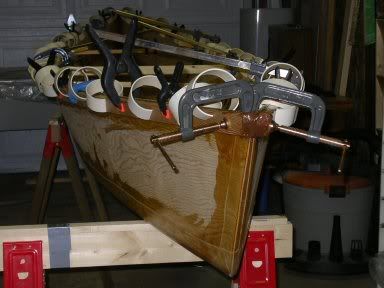
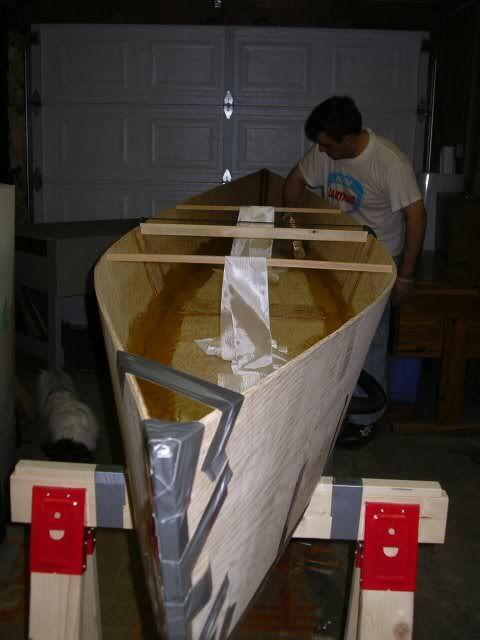
Once I was happy that everything was as close to "aligned" as it was going to be, I began the Epoxy. Note the duct tape being used to pull the panels into symmetry. 


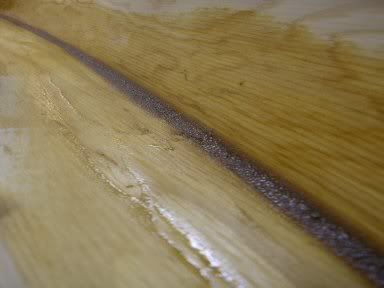
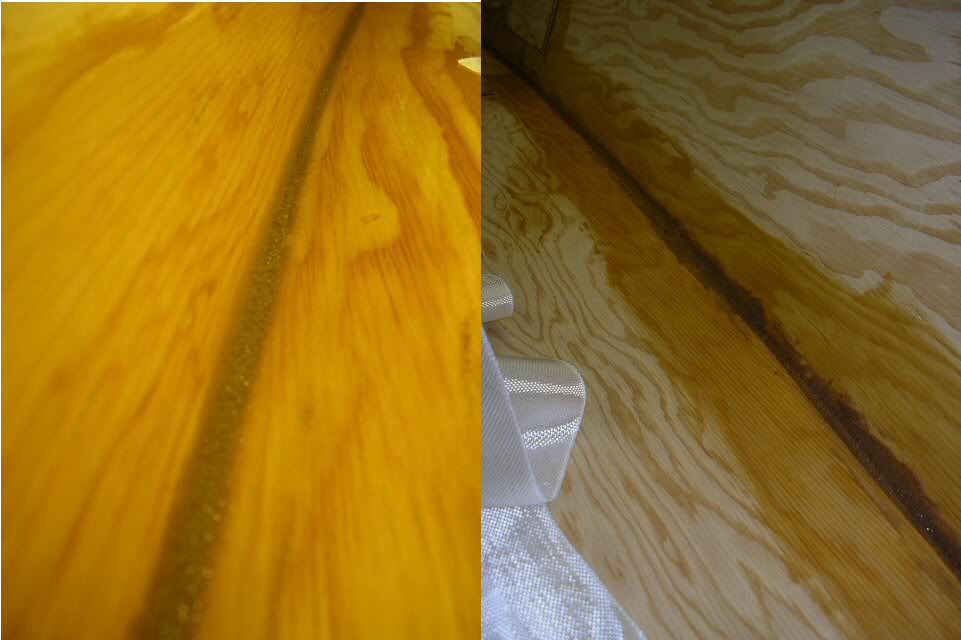
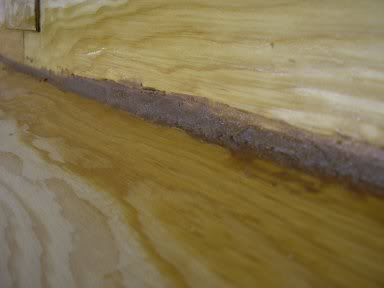
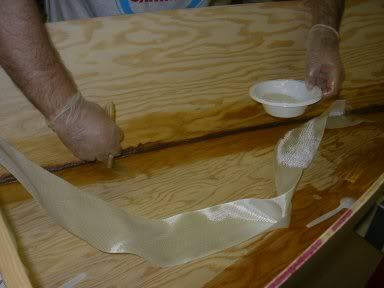
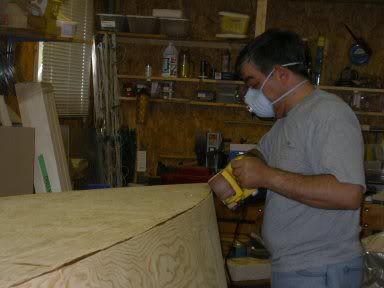
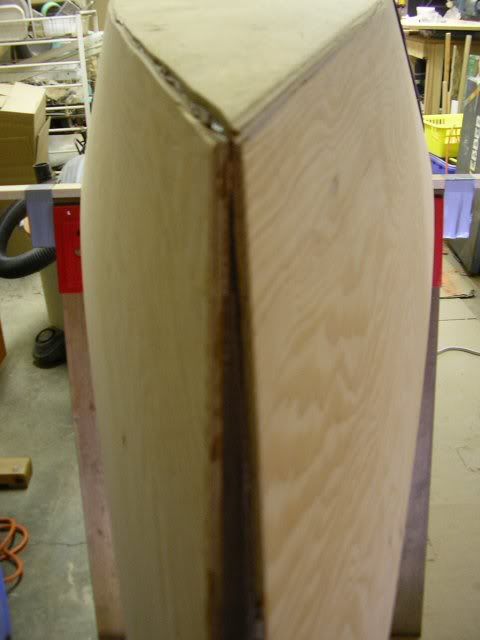
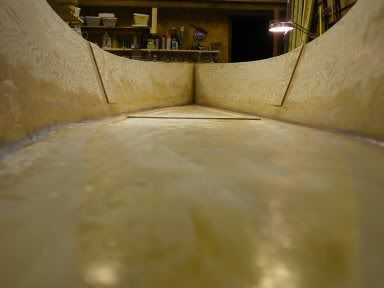
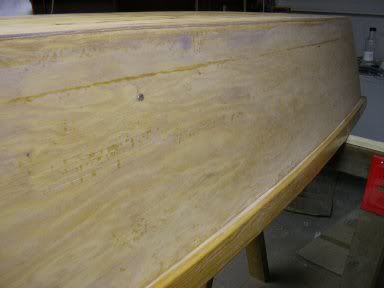
Bare wood absorbs epoxy, so the joints are coated with plain resin before the fillets are applied. Once spread out thin enough, there is more than enough time to work the fillets into the joint before the epoxy hardens,  about 3-4 hours. If it cures, care must be taken to ensure any amine blush is removed prior to applying the fillets.

Many "stitch and glue" sites and forums recommend "piping" the fillets into the corners using a plastic bag. I tried this, and was really disappointed with my results. I ended up using a plastic spoon and my latex gloved fingers. I was able to work a lot faster, and was a whole lot happier with the end result.

(Click to Enlarge)

Why, oh why, didn't I take the advise of so many, and use a few pieces of scrap wood to practice and get the feel of filleting. No ! I thought just reading would be enough, but was not happy with the outcome. The picture on the right is an example of my learning. Yuch !!! After deciding to go with the spoon and finger method, I managed to produce fillets like those on the left. Perhaps still leaving room for improvement, but not necessary to be embarrassed about them. I had decided early in the build to leave the inside clear, and in spite of the "urg-lee" fillets, stayed with my decision.

 
(Click to Enlarge)
 

(Click to Enlarge)


(Click to Enlarge)
Fillets aren't really for structural strength, but used to make a curved footing for the tape and epoxy, which is what gives strength and stability to the structure. Once firm, I applied another coat of clear epoxy and then spread the glass tape onto the wet resin. It's important to ensure the glass is completely wetted out. This can be judged by virtue of the fact it becomes completely transparent when wetted.
(Click to Enlarge)

  (Click to Enlarge)

Although the glass tape is all but transparent at the end of the process, I tried as best I could to keep it centered along the length of the joint. Note: I made sure I had everything I thought I may need for this part of the operation ready as and when required. The tape was precut and hanging ready for application to the wet resin I'd applied.


I poured clear resin onto the tape, and worked it in using a plastic squeegee. As the glass tape is wetted out, it becomes transparent. As much resin as possible is then "squeegee'd" out of the glass. This ensures a better bond between the tape and the wood. The weave of the tape is filled in with later coats of resin.

(Click to Enlarge)

(Click to Enlarge)

The selvedge of the tape will  lift during the curing process. In this picture, the whitish lines along the edge of the tape is just that! Not to worry, this is sanded off as the build continues. I'll mention it here, and probably a few more times... "when sanding, do not sand into the fibers of the glass". Just take down the surface of the resin. Having said that, when sanding off the selvedge, it's OK to sand into the fibers, but just keep to the bare minimum to get rid of the bump.

A big day in the life of your boat-build, is when the boat is "flipped" for the first time. Up till now, you've probably had many doubts as to the strength and weight of your vessel. Today you'll feel how light and strong the "stitch and glue" construction really is. I was no different, as I "Flipped" the Knysna Loerie for the first time. Perhaps I need to say, she did go back and forth many times before she felt the cold water on her keel.

 
(Click to Enlarge)

(Click to Enlarge)

Up to this point she has been held together with the duct tape, but the time has come to test the inside joints by removing said tape. I was a little concerned at what I saw, thinking I'd need to fill in the many voids.

Once I started sanding, I was encouraged. The edges get sanded down to a 10mm-12mm radius.

From experience I offer a short warning on sanding...
ALWAYS use adequate breathing apparatus. You're going to sand for many hours from this point on, and inhaling sawdust cannot be good for you. That's point No.1. Point No.2 is be gentle with your belt sander. It's all too easy to lose concentration and sand beyond your intentions.
(More on how I know, later).

(Click to Enlarge)


(Click to Enlarge)

Here's a shot from the stem showing the difference between a sanded joint on the right and one yet to be done. Any voids should be filled with epoxy/wood flour (filler) paste, allowed to set, and the sanding continued.

When I was happy (well as happy as I was going to be) with the radii of the joints, the edges were clear coated and the glass tape applied, same as inside. I found a good tip on one of the forums which recommend to wet the tape on a sheet of polyurethane plastic, and then apply to the still wet clear layer on the wood. This speeded up the process considerably.

(Click to Enlarge)
  
(Click to Enlarge)

With the taping done, and all the epoxy cured, I prepared to install the rub rails. I used 18 ft lengths of 1x2 oak, which worked just fine. Since the Bateau design is such that the edges are along the straight side of the 4x8, no matter the curve (sounds crazy, but I understand, now that I've done it once) it's easy to install the rub rails without having to worry about bending.

I did a "dry-fit" first to make sure I understood the method... starting in the middle, and doing both sides simultaneously, the rub rails are clamped along the sides in a symmetrical pattern. Remember the duct taping scenario? Middle left, middle right, aft one left, aft one right, fore'd one left, fore'd one right, aft one left, aft one right, fore'd one left, oh you understand, I'm sure. This process keeps pressure and stresses constant and ensures the sides stay symmetrical.

(Click to Enlarge)
(Click to Enlarge)

Satisfied with the dry fit, the edges were coated in clear epoxy and a batch of epoxy glue was mixed to the consistency of peanut butter This is spread onto the rub rails which are then clamped in place. Like always... keep checking yourself. Stand back aways from time to time to check for symmetry.

As you can see from the picture, when building a boat, one can never have enough clamps. I used the PVC pipe clamps as suggested in many places, but felt my 1 1/2" wide slices did not give me enough clamping pressure. Next batch of clamps I'll make 2 - 2 1/2" wide from the same 3" pipe. (Well, not quite the same 3" pipe, but another length of 3" pipe similar to the first!!!).


(Click to Enlarge)

(Click to Enlarge)


(Click to Enlarge)


(Click to Enlarge)


(Click to Enlarge)


(Click to Enlarge)


(Click to Enlarge)


(Click to Enlarge)